
Color can transform a simple handmade candle into something that matches a season, complements a room, or brings a creative design to life. But learning how to color candle wax involves more than adding a few drops of dye. The type of candle dye, the wax you use, and the way you mix them all affect the finished appearance.
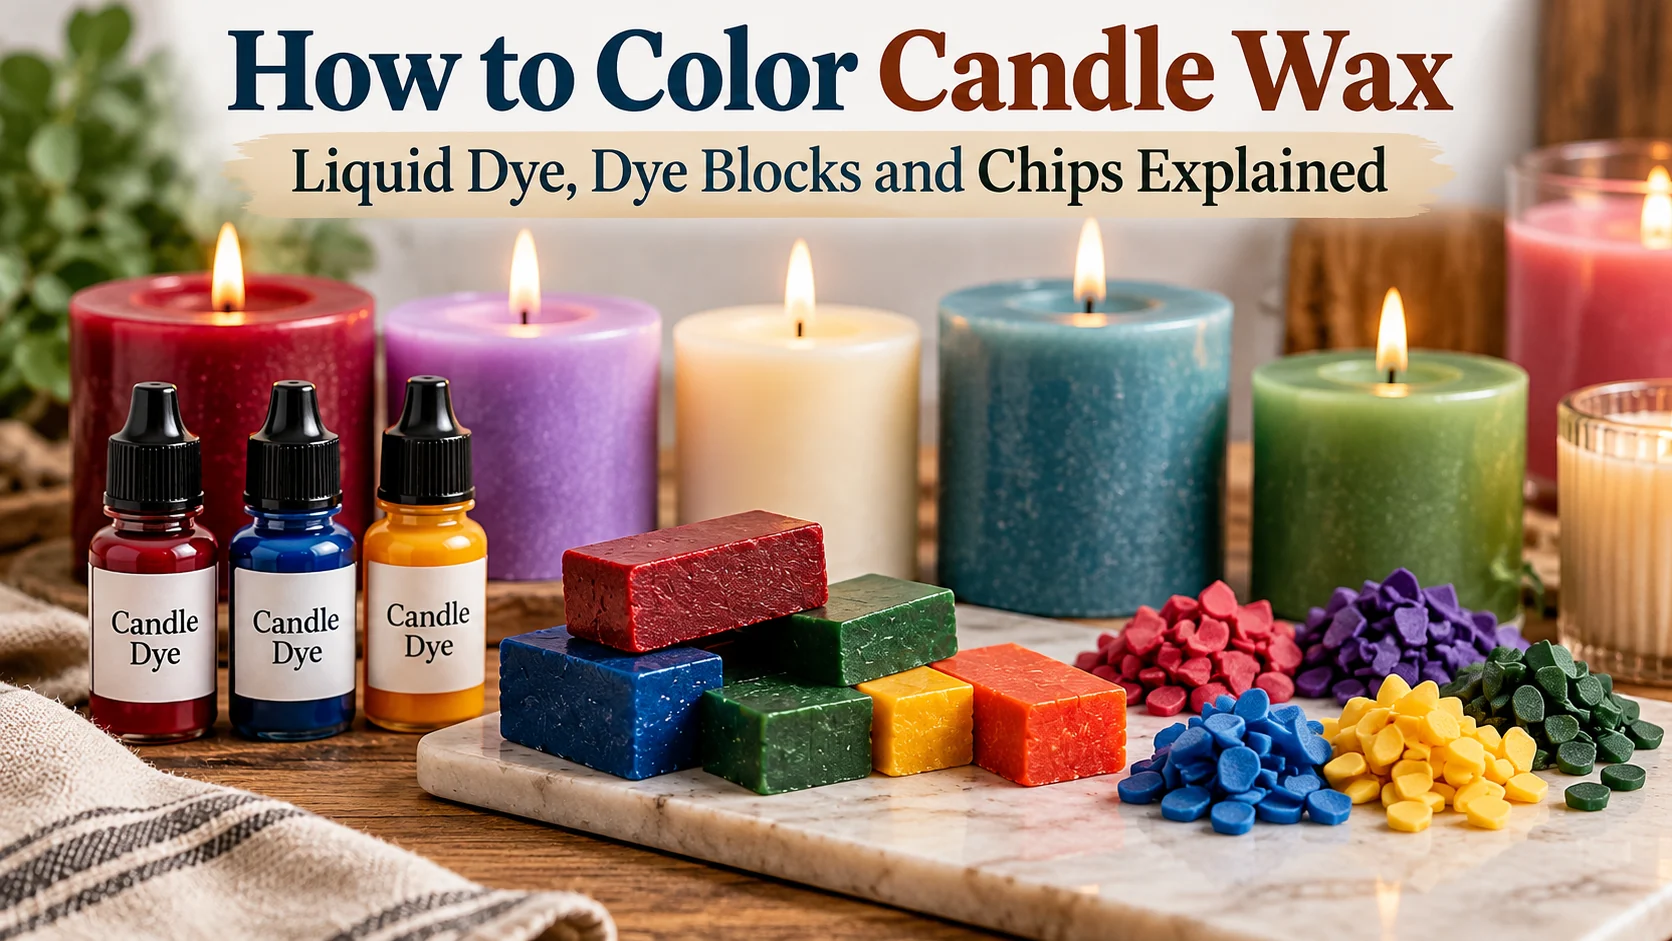
Liquid candle dyes, solid dye blocks, and dye chips are three popular options for coloring candle wax. Each offers different advantages depending on whether you want subtle pastel shades, bold colors, or repeatable results across multiple batches.
In this guide, we’ll explain how to dye candle wax step by step, compare the three main types of candle colorants, and help you troubleshoot common problems like pale colors, uneven mixing, and discoloration.
Quick Answer: How Do You Color Candle Wax?
To color candle wax, melt candle-making wax using controlled, indirect heat. Add a small amount of candle-specific liquid dye, dye block, or dye chip at the temperature recommended by the supplier. Stir until the dye is completely incorporated, check a cooled sample for the final color, and pour the candle according to your wax manufacturer’s instructions.
Best beginner choice: Liquid candle dye is convenient for adjusting shades a little at a time. Pre-portioned dye chips are another excellent option for small, repeatable batches.

What Can You Use to Color Candle Wax?
The most reliable way to color candle wax is to use dye specifically formulated for candle making. Candle dyes are designed to mix with molten wax and provide color without leaving the solid particles associated with some household coloring materials.
The three most common options are:
- Liquid candle dye: Concentrated color supplied in bottles, usually measured in drops or by weight.
- Candle dye blocks: Solid, concentrated dye pieces that dissolve into melted wax.
- Candle dye chips: Small, often pre-portioned solid dye pieces suitable for individual batches.
Although food coloring, crayons, and powdered pigments may seem convenient, they are not good substitutes for purpose-made candle dyes. Water-based food coloring does not blend properly with wax, crayons contain materials not formulated for candle wicks, and some pigments can interfere with burning.
If your interest is in botanical colors rather than conventional candle dyes, visit our separate guide to making candles with natural dyes. That article explores natural coloring experiments, while this guide focuses on consistent results using purpose-made candle colorants.
Liquid Candle Dye vs. Dye Blocks vs. Dye Chips
All three dye formats can produce attractive candles when they are compatible with your wax and used correctly. The biggest differences are how they are measured, how quickly they incorporate, and how easy it is to reproduce a particular shade.
| Feature | Liquid Dye | Dye Blocks | Dye Chips |
|---|---|---|---|
| Form | Concentrated liquid | Solid blocks | Small solid pieces |
| Measurement | Drops or weight | Whole or divided blocks | Chips or weight |
| Main advantage | Easy shade adjustments | Convenient for larger batches | Convenient small portions |
| Main challenge | Drops may vary; possible spills | Must dissolve completely | Must dissolve completely |
| Best suited for | Color testing and custom blends | Repeatable production batches | Beginners and small batches |
Important: Dye blocks and chips are not standardized across manufacturers. One supplier’s chip may be much more concentrated than another’s. Always use the dosing instructions for the exact product you purchase.
1. How to Use Liquid Candle Dye
Liquid candle dye is a popular option because it allows you to adjust color in small increments. It is useful for creating custom shades, matching seasonal palettes, and experimenting with color combinations.
Advantages of Liquid Dye
- Easy to add in small amounts.
- Convenient for blending different colors.
- Does not require melting a solid dye block.
- Useful for testing several shades from one wax batch.
- Works with many common candle waxes when the product is compatible.
Step-by-Step Instructions
- Melt the wax. Use a candle-safe melting setup and monitor the temperature.
- Check the manufacturer’s instructions. Confirm the recommended dye dosage and addition temperature.
- Add a small amount of dye. Begin at the low end of the manufacturer’s recommended range.
- Stir thoroughly. Mix until the liquid color is distributed evenly throughout the wax.
- Test the shade. Allow a small wax sample to cool completely before deciding whether to add more dye.
- Finish the candle. Add fragrance if desired and pour according to your wax and fragrance instructions.
For repeatable results, record the dye product, color, batch size, and exact amount used. Measuring dye by weight can be more reproducible than counting drops when your scale is sufficiently precise.
2. How to Use Candle Dye Blocks
Candle dye blocks are solid pieces of concentrated color designed to dissolve in melted candle wax. They are frequently used when making multiple candles in the same color.
Some manufacturers provide charts showing how much wax a full block can color. These charts are useful starting points, but they are not universal recipes.
Advantages of Dye Blocks
- Easy to store without the spill risk of liquid bottles.
- Useful for repeating established recipes.
- Can be weighed or divided for different batch sizes.
- Available in a wide range of colors.
Step-by-Step Instructions
- Weigh your candle wax and determine the dye quantity using the supplier’s chart.
- Melt the wax using indirect heat.
- Add the dye block while the wax is within the recommended incorporation-temperature range.
- Stir carefully until the entire piece has dissolved and no concentrated fragments remain.
- Make a small cooled sample to evaluate the color.
- Complete the remaining fragrance, cooling, and pouring steps appropriate for your wax.
If a block does not dissolve completely, verify that the wax is within the recommended mixing range and allow more mixing time. Do not exceed the wax manufacturer’s maximum recommended heating temperature to force the dye to dissolve.
3. How to Use Candle Dye Chips
Candle dye chips work much like dye blocks, except that they are supplied in smaller pieces. Some are pre-portioned for particular wax quantities, making them convenient for beginners and smaller batches.
To use dye chips:
- Measure your wax and select the amount of dye recommended for that quantity.
- Melt the wax completely.
- Add the chips within the dye manufacturer’s recommended temperature range.
- Stir until the chips dissolve and the color is uniform.
- Check a cooled sample and finish the candle according to the wax instructions.
Dye chips are especially convenient if you frequently make candles in the same colors. Record the manufacturer’s name and the number or weight of chips used so you can reproduce the result.
How to Color Candle Wax Step by Step
Whether you are working with soy, paraffin, coconut, or a blended wax, the basic coloring process is similar. The specific temperatures and dye quantities will vary by product.
Supplies You Will Need
- Candle-making wax appropriate for your candle style
- Liquid candle dye, dye blocks, or dye chips
- Candle pouring pitcher or melting vessel
- Double boiler or another wax-safe temperature-controlled melting system
- Digital thermometer
- Accurate measuring scale
- Heat-resistant stirring utensil
- Wick and suitable candle container or mold
- Small container or mold for cooled color samples
- Heat-resistant gloves and eye protection
Starting from scratch? Our basic candle-making materials checklist explains the essential tools and which accessories are optional.
Step 1: Choose Your Wax
The type of wax affects how your finished candle looks. Soy wax commonly produces softer, more muted colors, while many paraffin formulations can produce stronger, more saturated shades. Beeswax has a natural yellow or ivory tone that can influence added colors.
If you have not selected a wax yet, see our guide on how to choose the right candle wax.
Step 2: Measure and Melt the Wax
Measure the amount of wax required for your container or mold and transfer it to a suitable pouring pitcher.
Heat the wax gradually with a double boiler or an appropriately designed wax melter. Monitor the temperature throughout the process and do not leave heating wax unattended.
Our double boiler candle-making guide explains how to melt wax safely using controlled indirect heat.
Step 3: Add the Candle Dye
Once the wax is fully melted and within the dye supplier’s specified temperature range, add your chosen colorant.
For liquid dyes, begin with a small measured quantity. For dye blocks and chips, use the manufacturer’s recommended portion for your wax weight.
A common mistake is treating every candle dye as though it requires the same temperature or amount. Different products have different concentrations and handling requirements, so the supplier’s directions should always take priority.
Step 4: Stir Until Completely Incorporated
Mix slowly and thoroughly, scraping the sides and bottom of the pouring pitcher as needed without splashing hot wax.
Look for undissolved dye particles, concentrated streaks, or a noticeably uneven appearance. Continue mixing within the manufacturer’s temperature limits until the color is uniform.
Step 5: Test the Color Before Pouring
Melted wax often looks darker than the finished candle. As wax cools and solidifies, the color frequently becomes lighter.
To test your shade, place a small amount of colored wax into a suitable sample mold and let it cool completely. Compare the finished color with your intended shade before adjusting the batch.
Making color samples is particularly helpful when developing candle recipes you plan to repeat or sell.
Step 6: Add Fragrance and Pour
If you are making scented candles, incorporate candle-safe fragrance at the temperature and loading level recommended for your particular wax and fragrance combination.
Then allow the wax to reach the appropriate pouring temperature, prepare your wick and container, and pour carefully.
Allow the candle to cool and cure according to your wax manufacturer’s guidance. Before using a new color formula for gifts or sales, conduct a complete burn test with the selected wick, wax, fragrance, and dye combination.
How Different Candle Waxes Affect Color
One of the most important things to understand about dyeing candle wax is that identical dye amounts can produce different results in different waxes.
| Wax Type | Typical Color Appearance | Considerations |
|---|---|---|
| Soy wax | Soft, pastel or muted tones | Opaque wax can soften intense colors. |
| Paraffin wax | Often vibrant and saturated | Useful for bold colors and decorative candles. |
| Beeswax | Influenced by natural yellow or ivory tone | Natural wax color can change the resulting shade. |
| Coconut-soy blends | Often creamy or softly colored | Check compatibility with the particular blend. |
| Palm wax | Color affected by crystalline patterns | Appearance varies with formulation and cooling conditions. |
These are general tendencies, not guaranteed outcomes. The exact wax formulation, dye concentration, fragrance, and cooling conditions can change the final color.
How Much Candle Dye Should You Use?
There is no universal dye-to-wax ratio that works for every product. Some liquid dyes are highly concentrated, while solid blocks and chips may be formulated to color very different quantities of wax.
For the most reliable results:
- Weigh your wax before adding dye.
- Check the manufacturer’s recommended amount for the specific color.
- Begin at the lower end of the recommended range.
- Evaluate the color using a cooled wax sample.
- Adjust only within the supplier’s stated limits.
- Record the exact formula for future batches.
Example: If a dye manufacturer lists a usage rate of 0.05% by wax weight, a batch containing 500 grams of wax would require 0.25 grams of dye. This is an illustration of the calculation, not a universal recommended candle dye dosage.
Adding more dye than recommended can create problems with candle performance, including changes to the wick’s ability to burn correctly. Darker is not always better.
How to Make Darker or More Vibrant Candle Colors
If your finished candle is much lighter than expected, the solution is not necessarily to add more dye.
Start With the Right Wax
For bold, saturated colors, paraffin or an appropriately formulated blend may provide stronger results than a naturally opaque soy wax. If you are making soy candles, pastel shades may be more achievable than very dark, intense colors.
Use a Dye Designed for Your Wax
Choose a product whose manufacturer specifically lists compatibility with your wax type. Some dyes perform differently between soy, paraffin, and specialty blends.
Build the Color Gradually
Begin with a small amount and test the finished shade. Continue adjusting only within the dye manufacturer’s permitted usage range.
Keep Detailed Color Records
When you find a color you like, record the wax brand, dye product, quantities, temperatures, fragrance, and cooling conditions. Those details are essential for recreating successful colors.
Can You Mix Candle Dye Colors?
Yes. Many candle-specific dyes can be blended to create custom shades, provided the manufacturer confirms they are compatible.
For example, you might experiment with:
- Blue and yellow: Different shades of green.
- Red and yellow: Orange and warm sunset tones.
- Red and blue: Purple or violet shades.
- A small amount of brown: Muted, earthy variations of brighter colors.
Actual results depend on the pigments or dyes used and the base color of the wax. Candle color mixing does not always behave exactly like paint mixing.
When developing a custom color, start with small test batches. Keep the dye brands and wax consistent and record each addition. This is particularly useful for creating a signature candle collection or matching colors across seasonal product lines.
Why Is My Candle Wax Not Coloring Correctly?
Even experienced candle makers occasionally encounter color problems. The following issues are among the most common.
Problem 1: The Finished Candle Is Too Light
Possible causes: Insufficient dye, an opaque wax base, or an unrealistic expectation based on the appearance of melted wax.
What to try: Review the dye manufacturer’s usage range and test a slightly adjusted concentration. If the color is still too muted, consider another compatible wax or dye formulation rather than exceeding the permitted dye amount.
Problem 2: The Color Is Uneven
Possible causes: Incomplete mixing, undissolved solid dye, or wax cooling before the dye has fully incorporated.
What to try: Add the dye at the correct temperature and stir thoroughly. Confirm that blocks and chips have dissolved completely before pouring.
Problem 3: The Candle Develops White Patches
Possible causes: Frosting or crystallization in certain waxes, especially soy wax.
What to try: Review your wax manufacturer’s cooling and pouring recommendations. Stable room conditions and appropriate pour temperatures may improve the appearance, although frosting can be a natural characteristic of soy wax.
Problem 4: The Candle Changes Color Over Time
Possible causes: Sunlight exposure, ultraviolet light, fragrance discoloration, or the aging characteristics of the dye and wax.
What to try: Store finished candles away from direct sunlight and excessive heat. If the problem persists, test a different compatible dye or fragrance formulation.
Problem 5: The Candle Burns Poorly After Coloring
Possible causes: Excessive dye concentration or an incompatible combination of wax, wick, fragrance, and colorant.
What to try: Return to the recommended dye concentration and perform controlled burn testing. Changes to a candle formula can require adjustments to the wick selection.
If a candle burns unevenly or repeatedly tunnels, see our guide to fixing candles that burn unevenly.
Can You Use Food Coloring, Crayons, or Mica Powder in Candles?
Many beginner candle makers look for household substitutes before purchasing candle dye. However, not every coloring ingredient is suitable for a burning candle.
Food Coloring
Most common liquid food coloring is water-based. Because candle wax and water do not mix, food coloring is generally unsuitable for coloring candles.
Crayons
Crayons contain colorants and other ingredients designed for writing and drawing rather than candle burning. These materials may interfere with a candle wick and should not be treated as substitutes for candle dye.
Mica Powder
Mica can create attractive shimmering effects in some wax crafts, but suspended mineral particles may accumulate in a burning candle’s wick. For ordinary wicked candles, use a suitable candle dye instead. Mica may be more appropriate for certain non-burning decorative applications, subject to the product’s instructions.
Natural Botanical Colorants
Some natural materials can produce interesting colors or tints, but they may not dissolve into wax like commercial candle dyes. Loose botanical solids can also create combustion hazards in burning candles.
For an overview of botanical coloring methods and their limitations, explore our natural candle dye guide.
Tips for Coloring Candles You Plan to Sell
If you are making candles for a small business, consistent color becomes especially important. Customers may expect a product purchased several months later to match the candle they originally ordered.
Consider creating a simple production record containing:
- Wax manufacturer and exact product name.
- Wax weight for each batch.
- Dye manufacturer, color name, and quantity.
- Fragrance type and amount.
- Dye addition temperature and mixing procedure.
- Pouring and cooling conditions.
- Finished color observations.
- Burn-test results.
Test your finished candles for appearance and performance before selling them. Color consistency matters, but safe and predictable burning is more important.
Frequently Asked Questions About Coloring Candle Wax
What is the best dye for candle making?
Liquid candle dye is a convenient choice for beginners who want to experiment with shades. Dye chips are useful for smaller measured batches, while dye blocks can work well for repeat production. The best option depends on your wax, batch size, and preferred measuring method.
Can you dye soy candle wax?
Yes. Soy candle wax can be colored with compatible candle-specific dyes. Because many soy waxes are naturally creamy and opaque, finished colors often appear softer or more pastel than comparable colors in paraffin wax.
When should you add dye to candle wax?
Add dye once the wax is sufficiently melted and within the temperature range recommended by both the wax and dye manufacturers. Solid blocks or chips may require additional mixing time to dissolve fully.
Why does candle wax look darker when melted?
Molten wax is generally more translucent than cooled, solid wax. As it solidifies, the wax may become more opaque, causing the same amount of dye to appear lighter or less saturated.
Can you add too much candle dye?
Yes. Excess dye can change how a candle burns and may create problems with wick performance. Follow the manufacturer’s limits and do not keep adding dye simply to force a darker color.
Can you color scented candles?
Yes. Compatible candle dyes can be used in scented candles. However, certain fragrances may naturally discolor wax over time, so test the complete wax, fragrance, dye, and wick combination.
Can I use candle dye for soap?
Not unless the colorant manufacturer explicitly approves the product for soap or cosmetic use. Dyes sold only for candles and wax melts should not be assumed safe for skin-contact applications.
Final Thoughts: Choosing the Right Candle Dye
Learning how to color candle wax becomes much easier when you choose the right dye and develop a repeatable process. Liquid candle dyes provide flexible shade adjustments, dye blocks are useful for larger batches, and dye chips offer convenient smaller portions.
Whatever method you choose, start with a compatible dye, follow the manufacturer’s dosing and temperature guidance, test your finished shade after cooling, and record successful recipes.
Most importantly, remember that attractive colors are only one part of a well-made candle. Proper wax selection, mixing, wick compatibility, and burn testing are essential to the finished result.
Continue Learning About Candle Making
- How to Make Candles With Natural Dyes — Explore botanical colors and natural coloring experiments.
- How to Choose the Right Candle Wax — Compare soy, paraffin, beeswax, and other wax options.
- Basic Materials Needed to Make Homemade Candles — Build your candle-making supply checklist.
- Double Boiler for Candle Making — Learn to melt wax using controlled indirect heat.
Leave a Reply