Making candles with natural dyes is a delightful and creative process that combines the art of candle making with the beauty of natural colorants. Whether you’re aiming to create candles for relaxation, gifts, or just to add a personal touch to your home decor, using natural dyes not only adds a rustic charm but also ensures that your candles are free from synthetic chemicals. Let’s dive into the step-by-step guide on how to make these eco-friendly, colorful candles!
Materials You’ll Need
Before we get started, let’s gather all the essential materials. Here’s a handy list:
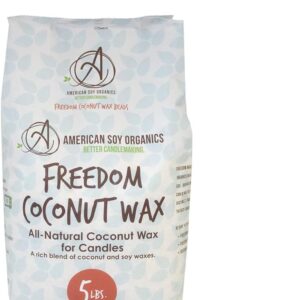
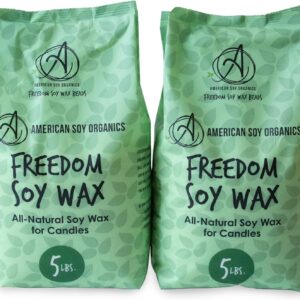
- Wax: Beeswax, soy wax, or coconut wax are great natural choices.
- Wicks: Pre-tabbed cotton wicks are ideal.
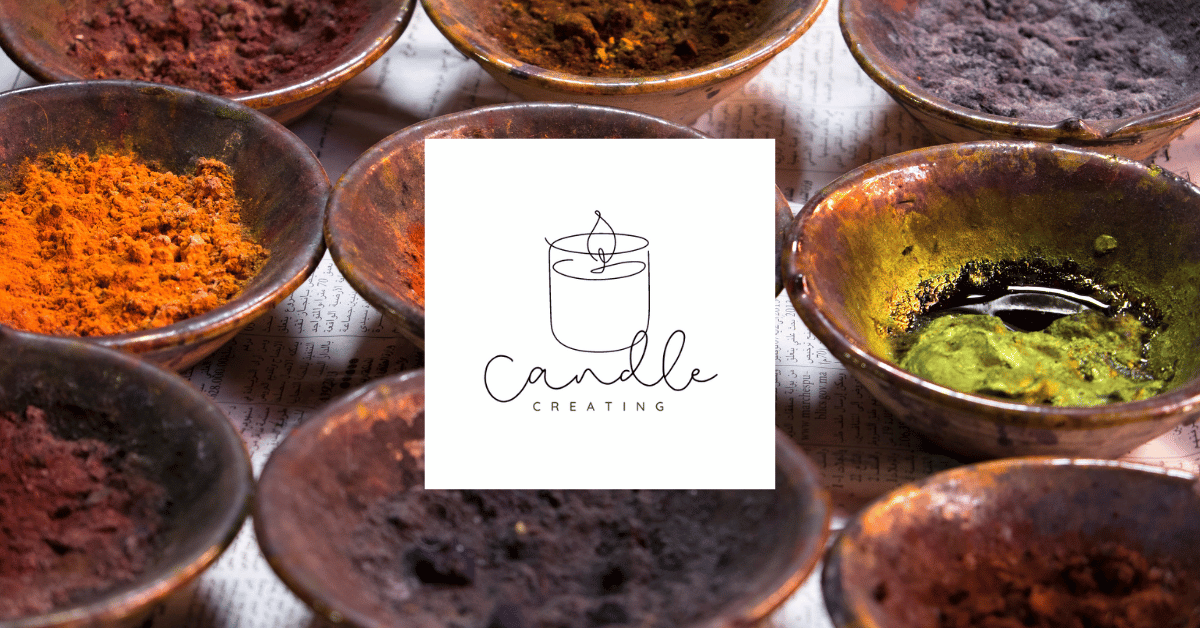
- Dye Materials: This can include things like turmeric, spirulina, beetroot powder, coffee, hibiscus, annatto seeds, etc.
- Containers: Glass jars, metal tins, or silicone molds.
- Double Boiler: For melting the wax.
- Thermometer: To monitor wax temperature.
- Wooden Skewer or Chopsticks: To stir the wax.
- Essential Oils (Optional): For scenting your candles.
- Cheesecloth or Fine Strainer: For straining dye materials.
- Vinegar: To help the natural dyes bond with the wax (optional).
Step 1: Choosing and Preparing Your Natural Dyes
The first step in making your natural-dyed candles is to choose your dye materials. Different natural ingredients will give you different colors. Here’s a quick guide:
- Turmeric: Vibrant yellow to orange.
- Beetroot Powder: Pink to red hues.
- Spirulina: Green tones.
- Hibiscus Flowers: Light pink to deep red.
- Coffee: Warm brown.
- Annatto Seeds: Bright orange.
Once you’ve chosen your dye, you’ll need to prepare it. If you’re using powdered dyes like turmeric or beetroot, you can use them directly. For whole ingredients like hibiscus flowers or coffee, you’ll need to simmer them in a small amount of water to extract the color.
Pro Tip: When using water-based dyes, be cautious as adding too much liquid can cause your candle to burn unevenly. Always simmer the dye until you have a concentrated extract.
Step 2: Melting the Wax
Now, it’s time to melt your wax. Here’s how:
- Set Up the Double Boiler: Fill the bottom pot with water and bring it to a simmer. Place the wax in the top part of the boiler.
- Melt the Wax: Stir occasionally until the wax is fully melted. Keep an eye on the temperature using a thermometer; for most waxes, you’ll want it to be around 160-170°F (70-75°C).
While the wax is melting, prepare your wicks by attaching them to the center of your containers using a dab of hot glue or wick stickers.
Step 3: Adding the Natural Dyes
Here comes the fun part! Once your wax is melted, it’s time to add your natural dyes.
- Add the Dye: Slowly add your chosen dye to the melted wax. If you’re using a powdered dye, add it directly to the wax and stir until the color is evenly distributed. For liquid extracts, pour them through a fine strainer or cheesecloth to remove any solid particles before adding to the wax.
- Check the Color: The color of the melted wax will be lighter once it hardens, so add a little more dye if needed. Stir well to ensure even color distribution.
Pro Tip: If you’re using an oil-soluble dye like annatto seed oil, mix it directly with the melted wax. For water-based dyes, use a few drops of vinegar in the dye extract to help it bond with the wax.
Step 4: Adding Fragrance (Optional)
If you want to scent your candles, now is the time to add essential oils. Essential oils like lavender, eucalyptus, or citrus can complement the natural colors beautifully. Add about 1 ounce of essential oil for every pound of wax, adjusting to your preference. Stir the mixture thoroughly to ensure even distribution.
Step 5: Pouring the Wax
With your dye and fragrance mixed in, it’s time to pour the wax into your prepared containers:
- Prepare the Containers: Make sure your wick is centered and standing upright. You can use a skewer or chopstick to hold the wick in place.
- Pour the Wax: Slowly and carefully pour the wax into the container, leaving about half an inch of space at the top. Avoid moving the containers until the wax has fully set to prevent cracks or uneven surfaces.
Step 6: Cooling and Setting
Allow the candles to cool and harden completely. This can take a few hours, depending on the size of your candles and the type of wax you used. Once the candles are fully set, you can trim the wick to about ¼ inch.
Step 7: Enjoy Your Handcrafted Candles!
Congratulations! You’ve just made your very own natural dyed candles. Light them up and enjoy the warm glow and natural aromas. These candles also make fantastic gifts – nothing says “I care” like something handmade with love.
Troubleshooting Tips
While making candles is relatively straightforward, there are a few common issues you might run into:
- Uneven Color: Make sure to stir the wax thoroughly after adding the dye. If using water-based dyes, ensure they are well emulsified with the wax.
- Cracked Surface: This usually happens if the wax cools too quickly. To prevent this, try to cool the candles slowly by covering them with a cardboard box.
- Weak Scent: If your candles don’t smell as strong as you’d like, you might need to increase the amount of essential oil next time.
Why Use Natural Dyes?
Using natural dyes in candles is not just about aesthetics; it’s also about sustainability and health. Synthetic dyes can release harmful chemicals when burned, whereas natural dyes are non-toxic and eco-friendly. Plus, the colors from natural dyes have a unique, earthy charm that you simply can’t replicate with synthetic counterparts.
Final Thoughts
Making candles with natural dyes is a rewarding experience that allows you to explore your creativity while producing something beautiful and functional. Whether you’re new to candle making or a seasoned pro, experimenting with natural dyes is a fun way to add a personal touch to your creations. So, grab your wax, wicks, and natural dyes, and start crafting some gorgeous, eco-friendly candles today!
Have you tried making your own candles before? If not, what’s stopping you? Share your thoughts or questions below – I’d love to hear about your candle-making adventures!
Also Read: How do you create marbled or swirled effect candles? – Handmade Candles (candlecreating.com)