Making candles at home is a fun, creative, and relaxing hobby. It’s also a great way to create personalized gifts or natural alternatives to store-bought candles. If you’re just getting started, you might be wondering: what are the basic materials needed to make homemade candles? Don’t worry—this guide breaks everything down in a simple, beginner-friendly way.
🕯️ Why Make Homemade Candles?
Before we dive into materials, here’s why many people love candle making:
- You control the ingredients (no harsh chemicals)
- You can customize scents, colors, and styles
- It’s cost-effective over time
- Candles make thoughtful handmade gifts
Now, let’s get into the essentials.
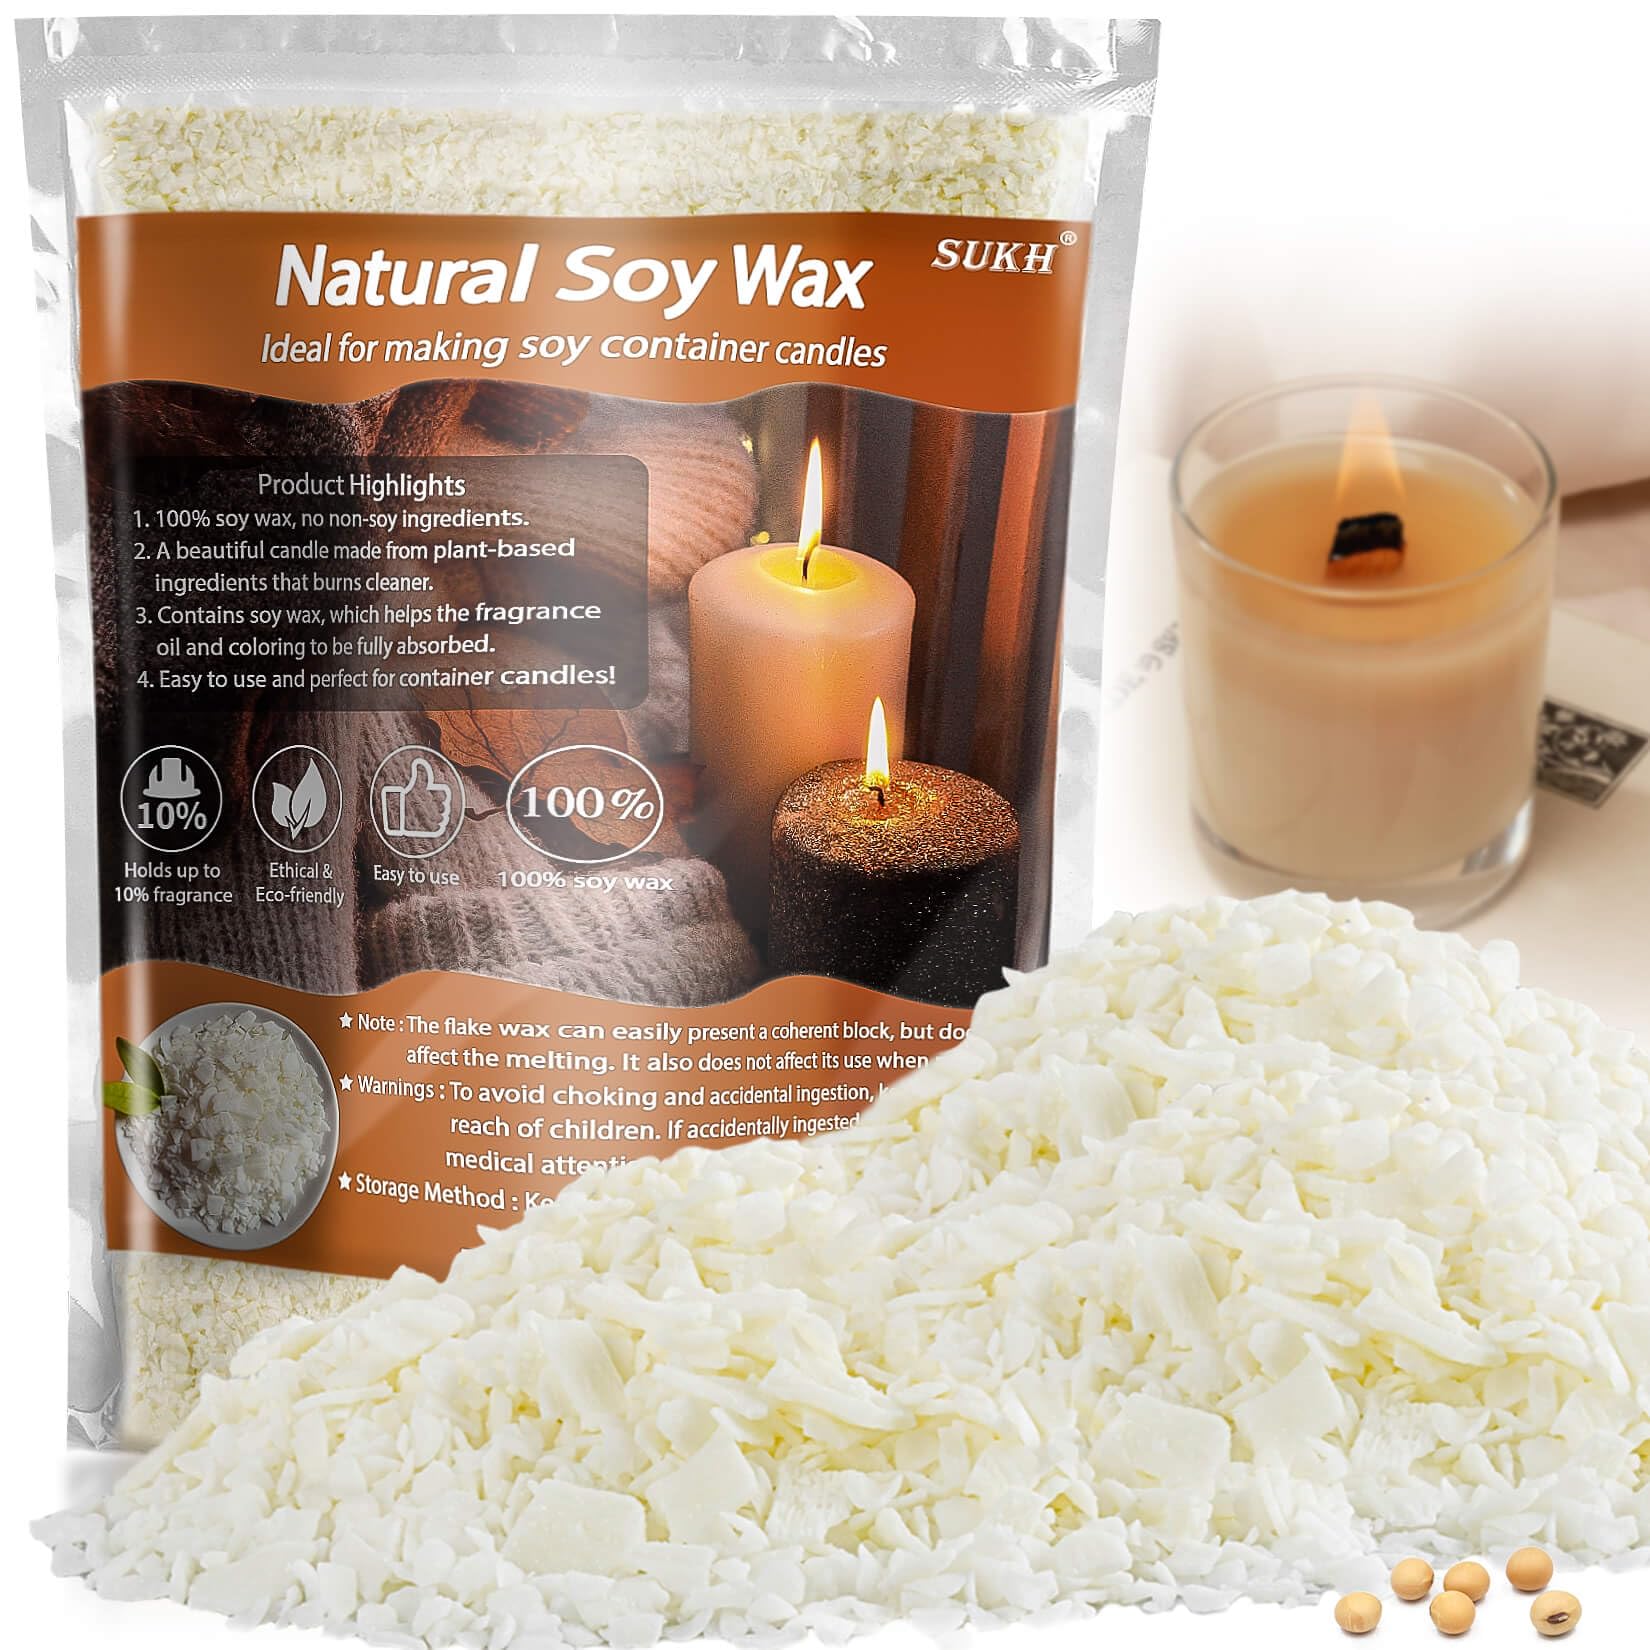
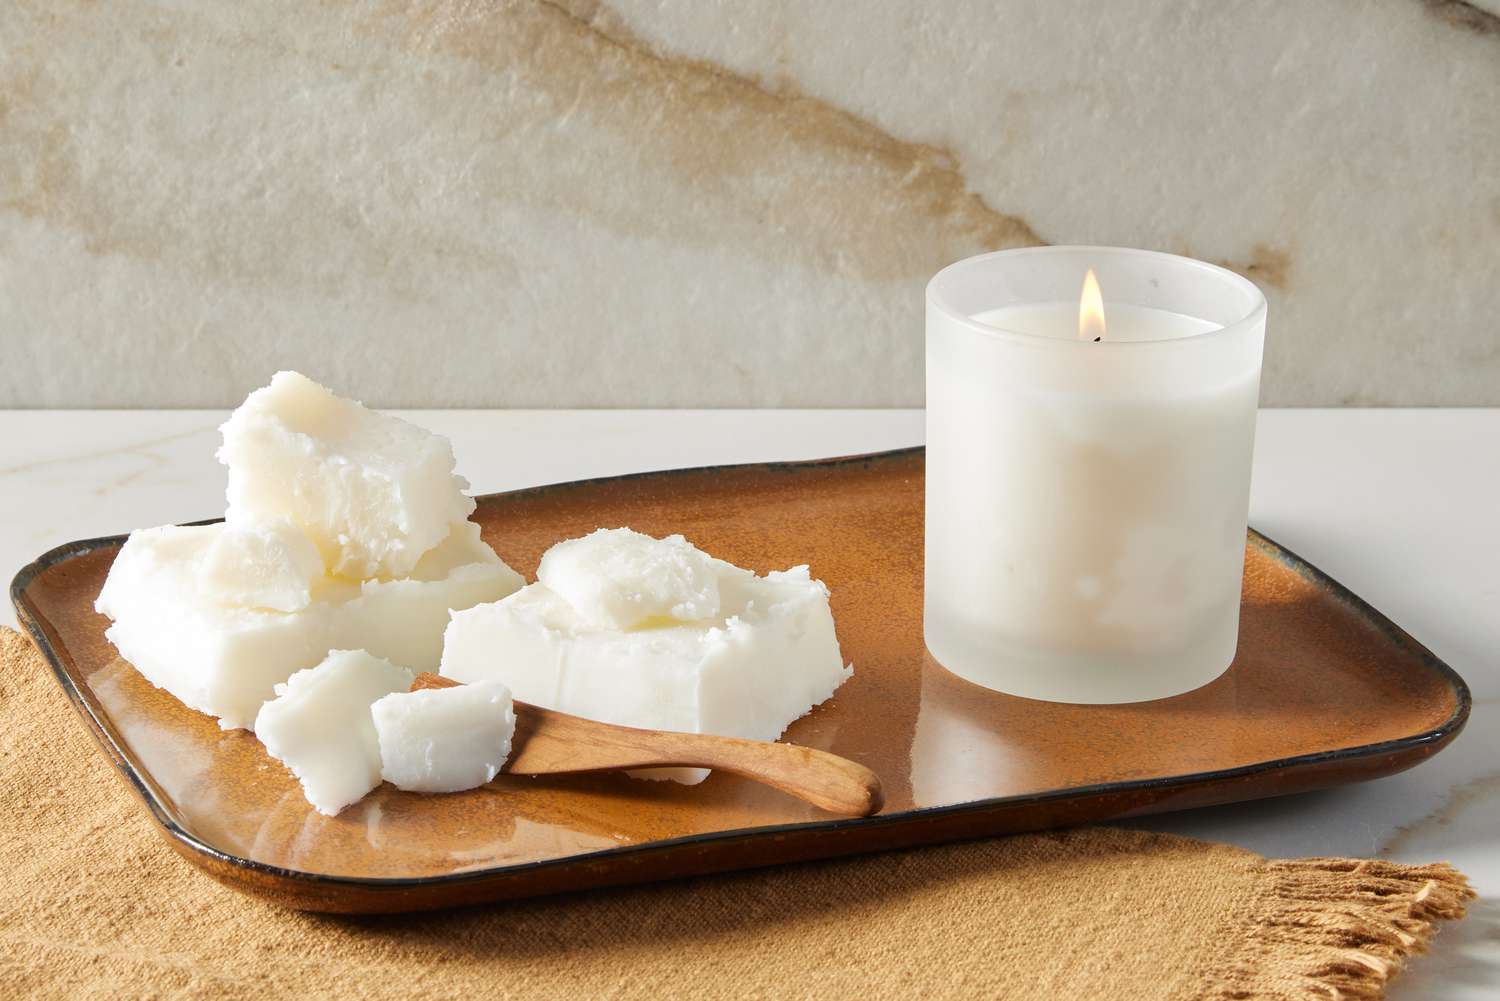
1. Wax (The Candle’s Foundation)
Wax is the main ingredient in every candle. There are several types to choose from, depending on your preference:
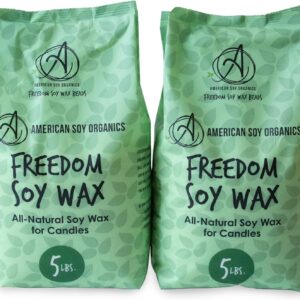
- Soy Wax – Natural, beginner-friendly, burns clean and slow
- Paraffin Wax – Affordable, strong scent throw, widely used
- Beeswax – Natural, long-lasting, subtle honey scent
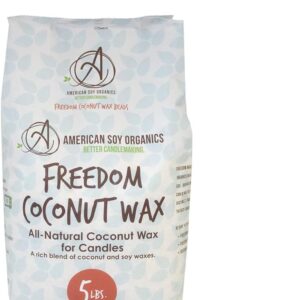
- Coconut Wax – Eco-friendly, smooth burn, often blended with soy
For beginners, soy wax is the most popular and easiest to work with.

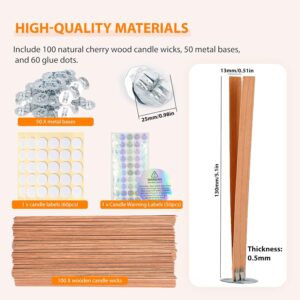
2. Wicks (The Flame Starter)
The wick controls how your candle burns. Choosing the right wick is important for safety and performance.
Common wick types include:
- Cotton wicks – Best for most homemade candles
- Wooden wicks – Create a soft crackling sound
- Pre-tabbed wicks – Perfect for beginners using jars
Make sure the wick size matches your container diameter.
3. Containers or Molds
Candles need a shape or holder. You can use:
- Glass jars or tins
- Ceramic cups
- Silicone candle molds
- Metal containers
Always use heat-safe containers to avoid cracking or breakage.
4. Fragrance Oils or Essential Oils
This is where your candle gets its personality.
- Fragrance oils – Strong scent, many options (vanilla, lavender, citrus)
- Essential oils – Natural, lighter scent, therapeutic benefits
Use oils specifically labeled for candle making to ensure safety.
5. Colorants (Optional but Fun!)
If you want colorful candles, you can add:
- Liquid candle dye
- Dye chips or blocks
- Natural colorants (for advanced makers)
A little goes a long way—start small.
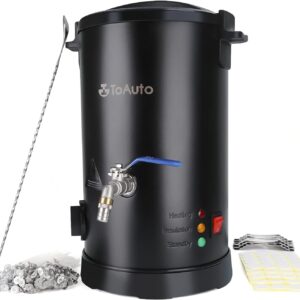
6. Heat Source & Melting Tools
You’ll need a way to melt wax safely:
- Double boiler (recommended)
- Heat-safe pouring pitcher
- Stove or electric hot plate
Never melt wax directly on high heat—it’s a fire hazard.
7. Thermometer
Temperature matters in candle making. A thermometer helps you know:
- When to add fragrance
- When to pour wax into containers
Ideal pouring temperature depends on the wax type.
8. Basic Accessories
These small tools make the process easier:
- Stirring spoon (silicone or metal)
- Wick stickers or hot glue
- Wick centering tool or clothespins
- Paper towels for cleanup
Beginner Candle Making Checklist
| Material | Required |
|---|---|
| Wax | ✅ |
| Wick | ✅ |
| Container/Mold | ✅ |
| Fragrance Oil | Optional |
| Color Dye | Optional |
| Thermometer | Recommended |
| Melting Tools | ✅ |
Safety Tips for Candle Making
- Never leave melting wax unattended
- Keep water away from hot wax
- Work in a well-ventilated area
- Label finished candles properly
Final Thoughts
Now you know what are the basic materials needed to make homemade candles, getting started is easier than ever. With just a few simple supplies, you can create beautiful, custom candles that smell amazing and reflect your personal style. Start small, experiment, and most importantly—have fun with it!
Step-by-Step Guide: What Are the Basic Materials Needed to Make Homemade Candles?
If you’ve got your supplies ready and you’re eager to start, here’s a simple, beginner-friendly step-by-step guide you can follow to make your first homemade candle.
Step 1: Gather Your Materials
You’ll need:
- Wax (soy is easiest for beginners)
- Wick (pre-tabbed cotton wick is great)
- Heat-safe container (jar, tin, ceramic cup)
- Fragrance oil or essential oil (optional)
- Color dye (optional)
- Double boiler or melting pitcher
- Thermometer
- Wick stickers or hot glue
- Stirring utensil
Step 2: Prep Your Container
- Clean and dry your jar/container.
- Stick the wick to the bottom using a wick sticker or a small dab of hot glue.
- Center the wick:
- Use a wick centering tool, clothespin, or two chopsticks laid across the top.
✅ Tip: A centered wick helps the candle burn evenly.
Step 3: Measure Your Wax
- Fill your container with wax flakes (or wax pieces) to estimate how much you’ll need.
- A good rule: Use about 2x the container volume in wax flakes because flakes melt down.
Step 4: Melt the Wax
- Set up a double boiler (pot with water + heat-safe pouring pitcher or bowl).
- Heat wax slowly until fully melted.
Target melting range (approx.):
- Soy wax: 160°F–185°F (71°C–85°C)
(Exact temps depend on the brand, so check your wax label.)
⚠️ Never melt wax on direct high heat—it can scorch or become dangerous.
Step 5: Add Color (Optional)
If you want colored candles:
- Add a small amount of dye to the melted wax.
- Stir gently until fully dissolved.
✅ Start light—you can always add more.
Step 6: Let Wax Cool Slightly
Before adding fragrance, let the wax cool a bit.
For soy wax, a common fragrance-adding temp is around:
- 170°F–175°F (77°C–79°C)
(Again, check the wax label for best results.)
Step 7: Add Fragrance (Optional)
- Add fragrance oil or essential oil.
- Stir slowly for about 1–2 minutes to fully blend.
✅ Beginner-friendly fragrance amount:
- About 1 oz fragrance per 1 lb wax (or follow wax guidelines).
Step 8: Pour the Wax
- Slowly pour wax into your prepared container.
- Leave a little space at the top (about ¼ inch).
✅ Pour slowly to reduce air bubbles.
Step 9: Let the Candle Set
- Keep the candle in a draft-free spot.
- Let it cool and harden fully (usually 4–8 hours, depending on size).
⚠️ Don’t move it while it’s setting—this prevents cracking or uneven tops.
Step 10: Trim the Wick
Once fully hardened:
- Trim the wick to about ¼ inch before lighting.
This helps prevent:
- Smoking
- High flames
- Fast burning
Step 11: Cure the Candle (Important!)
Curing makes the scent stronger and improves burn quality.
- Soy candles: Cure for 3–7 days for best results
- Paraffin: Often 24–48 hours is enough
✅ The longer the cure (within reason), the better the scent throw.
Step 12: Light & Test
Light your candle and watch for:
- Even melt pool (wax melts edge-to-edge)
- Minimal soot
- Steady flame
If the wick struggles or tunnels, you may need a different wick size next time.