Making dripless candles is an art that combines the right choice of materials with precise crafting techniques. If you’re tired of dealing with messy wax drips that ruin the ambiance and leave a trail of destruction on your candlesticks and tables, you’re in the right place. Let’s dive into the process of creating dripless candles, a skill that not only saves you from unnecessary clean-up but also enhances the aesthetic appeal of your homemade candles.
Understanding the Science Behind Dripless Candles
Before we get into the nitty-gritty of making these elegant, mess-free candles, let’s talk a bit about the science behind why candles drip in the first place.
Candles drip when the heat from the flame melts the wax faster than it can be burned off. The melted wax then overflows from the candle, trickling down the sides. Factors such as the type of wax, the size and material of the wick, and even the temperature of the room can influence this process.
To make a candle dripless, you need to ensure that the wax is burned off at a rate that matches or exceeds the rate at which it melts. This can be achieved by selecting the right wax, using the correct wick, and adding certain additives that increase the melting point of the wax.
Materials You’ll Need
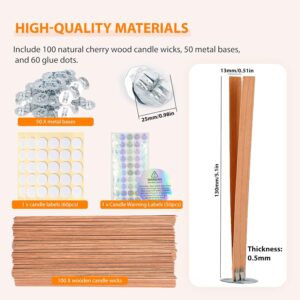
Here’s a checklist of the materials you need to make your very own dripless candles:
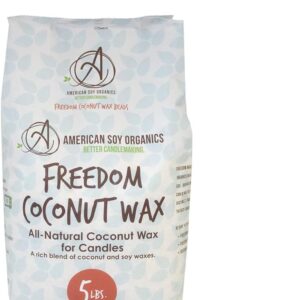
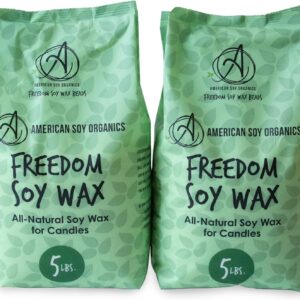
- High-Quality Paraffin Wax: Paraffin wax is the go-to choice for dripless candles. It’s refined, burns cleanly, and has a high melting point.
- Stearic Acid: This is a fatty acid that helps harden the wax, making it burn slower and more evenly. It also raises the melting point of the wax.
- High-Quality Cotton Wick: A wick that is too thick will cause the candle to burn too quickly, leading to drips. A thinner, tightly braided cotton wick is ideal.
- Candle Dye (Optional): If you want to add color to your candles, ensure that the dye is compatible with paraffin wax.
- Candle Mold: Choose a mold that suits your desired candle shape. For dripless candles, taper molds are popular because they encourage even burning.
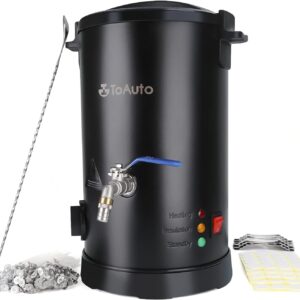
- Double Boiler: This is essential for safely melting wax.
- Thermometer: To monitor the temperature of the wax.
- Wick Centering Tool: This helps to keep the wick centered while the wax cools.
- Fragrance Oils (Optional): If you want scented candles, make sure to use oils specifically designed for candle making.
Step-by-Step Guide to Making Dripless Candles
Step 1: Prepare Your Workspace
Before you begin, make sure your workspace is well-ventilated and covered with newspaper or a disposable tablecloth to catch any accidental spills. Safety is key here—always have a fire extinguisher nearby when working with hot wax.
Step 2: Measure and Melt the Wax
Using your double boiler, melt the paraffin wax. For every pound of wax, add 3-4 tablespoons of stearic acid. This addition is crucial for creating a dripless candle, as it increases the melting point of the wax and ensures a harder finish.
Heat the wax mixture until it reaches a temperature of around 170°F (77°C). Use your thermometer to monitor the temperature closely—overheating the wax can lead to discoloration and a poor final product.
Step 3: Prepare the Wick
While your wax is melting, prepare your wick. Cut it to a length that is about 2 inches longer than the height of your mold. This extra length allows you to easily secure the wick in place.
If you’re using a wick centering tool, attach the wick to the tool and place it at the bottom of the mold, ensuring it stays centered as you pour the wax.
Step 4: Add Color and Scent (Optional)
If you want to add color to your candles, now’s the time. Use a small amount of candle dye and stir it into the melted wax until it is fully dissolved.
For scented candles, add your fragrance oil to the melted wax after you’ve removed it from the heat. The general rule of thumb is to use about 1 ounce of fragrance per pound of wax. Stir gently to incorporate the scent evenly throughout the wax.
Step 5: Pour the Wax into the Mold
Slowly pour the melted wax into the mold, taking care not to disturb the wick. Pouring too quickly can create air bubbles, which could affect the candle’s performance. Fill the mold to the top, leaving a small space if you need to top off after the wax settles.
Let the wax cool and harden completely. Depending on the size of the mold, this can take several hours. Avoid moving the mold during this time, as any jostling can cause the wax to settle unevenly.
Step 6: Remove the Candle from the Mold
Once the candle has fully hardened, gently remove it from the mold. If the candle is stuck, you can place the mold in the freezer for a few minutes to shrink the wax slightly, making it easier to remove.
Trim the wick to about 1/4 inch before burning. A longer wick can cause the flame to be too large, which may lead to dripping.
Pro Tips for the Perfect Dripless Candle
- Wax Temperature: Keeping the wax at the right temperature is crucial. If it’s too hot, it can cause uneven burning, leading to drips. If it’s too cool, the candle might not set properly.
- Room Temperature: Pouring candles in a cool room helps them to cool slowly and evenly, reducing the chances of drips. A sudden temperature drop can cause cracks or imperfections in the wax.
- Double-Pouring: Sometimes, after the wax cools, you might notice a small indentation around the wick. If this happens, reheat some leftover wax and top off the candle to create a smooth, even surface.
- Testing: If you’re serious about making dripless candles, consider testing small batches first. This allows you to tweak the wax-to-stearic acid ratio or adjust the wick size until you achieve the perfect burn.
Why Dripless Candles are Worth the Effort
Making your own dripless candles is not just a practical skill but also a rewarding craft. These candles are ideal for formal occasions, where you want to avoid the mess and ensure that your decor stays pristine. They also make for impressive homemade gifts—imagine the delight of receiving a set of elegant, handcrafted candles that don’t leave a mess!
In addition, mastering the art of making dripless candles can be a stepping stone to more advanced candle-making techniques, such as creating layered or decorative candles. Plus, you’ll have the satisfaction of knowing that your creations are tailored to your specific needs and preferences.
Conclusion: Light Up Your Life with Dripless Candles
Whether you’re crafting for yourself or looking to impress someone with a unique gift, making dripless candles is a skill that’s both useful and enjoyable. By carefully selecting the right materials and following these steps, you’ll be well on your way to producing candles that burn brightly without the messy aftermath.
So, what are you waiting for? Gather your materials, fire up the double boiler, and start crafting candles that shine without a single drip!
Also Read: How to Start a Candle Making Business – Handmade Candles (candlecreating.com)