
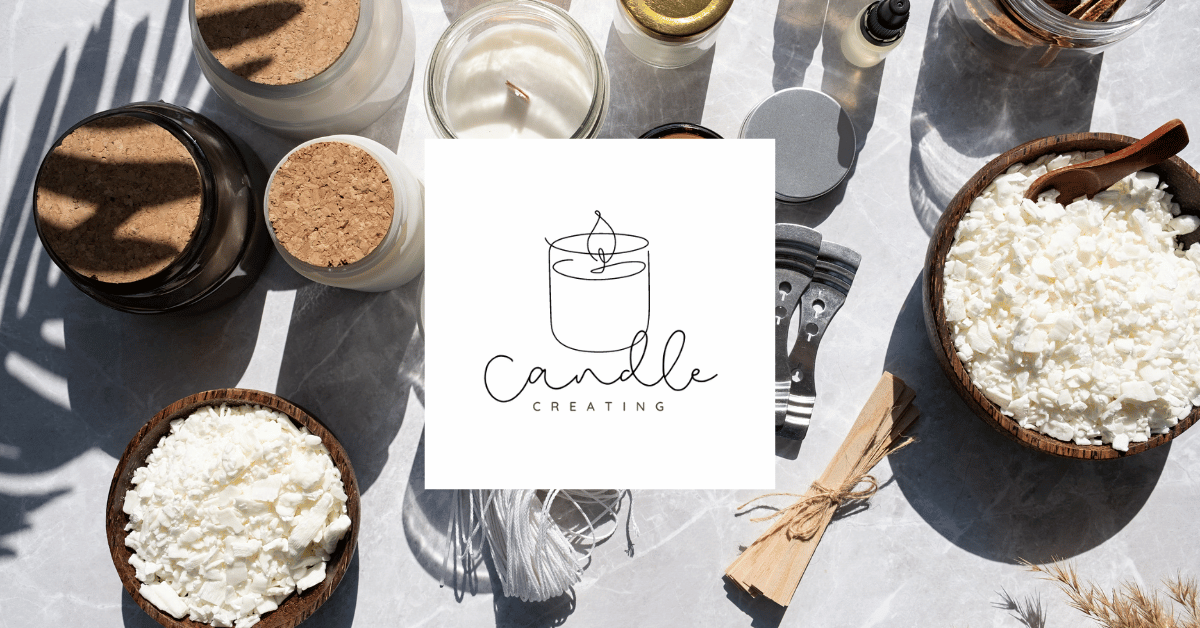
Candle making for beginners
Your first candle is not a masterpiece. It is a well-planned test.
Begin with one simple container candle, measure everything by weight and learn what the wax, wick and vessel do together. This guide takes you from an empty workspace to a documented burn test.
Start the step-by-step guideThe beginner plan
Make it simple enough to learn from.
An unscented, undyed container candle removes distractions and reveals how the core system burns.
The best candle-making project for a beginner is a small batch of identical container candles made with documented container wax, candle-rated vessels and several nearby wick sizes. Make the first tests without fragrance or dye, follow the wax supplier’s processing instructions and test each candle through its usable life.
Once the unscented design behaves predictably, add one fragrance and repeat the entire test. That measured progression teaches more than changing several ingredients at once.
Check the materials listStart with fewer variables
What should a beginner make first?
A straight-sided container candle is usually easier to evaluate than a pillar, taper, novelty mold, layered candle or botanical design. The vessel supports the wax, wick placement is visible and you can compare several wick sizes in otherwise identical candles.
A strong first project
- Three identical candle-rated jars or tins
- One container-wax blend with supplier instructions
- Three nearby sizes from one recommended wick series
- No fragrance and no dye in the first test
- One written formula and one controlled process
Save these for later
- Layered, marbled or multi-fragrance designs
- Random or repurposed household containers
- Large pillars and complex silicone molds
- Multiple wicks in wide vessels
- Dried flowers, herbs, crystals, glitter or charms
Decorative objects do not belong in the burn area
Dried botanicals and many craft decorations can become fuel, move toward the flame or obstruct the wick. A material being heat-resistant does not make it safe inside a burning candle. Keep the wax surface and flame zone free of loose decoration.
Build one compatible system
Supplies for your first container candle
The wax, wick and vessel must be selected together. A wick chart is only a starting point; the completed candle determines whether the choice works.
| Supply | Beginner choice | What to confirm |
|---|---|---|
| Wax | A documented wax blend intended for container candles | Heating, additive, pouring and curing instructions from its supplier |
| Wicks | Three nearby sizes from one wick family | Supplier starting range for the wax and vessel’s inside diameter |
| Vessels | At least three identical candle-rated jars or tins | No chips, cracks, damage or unknown material history |
| Measuring | Digital scale and suitable thermometer | Scale capacity, useful precision and thermometer limitations |
| Melting | Pouring pitcher in a controlled water bath | No direct flame, stable setup and no water entering the wax |
| Assembly | Wick tabs or pre-tabbed wicks, suitable adhesive and centering bars | Secure attachment and centered placement |
| Optional | One candle-approved fragrance and candle dye | Supplier documentation, applicable limits and compatibility |
| Safety | Eye protection, heat-resistant gloves and a clear work surface | Accessible appropriate extinguisher and an emergency plan |
Use the full basic candle-making materials checklist before purchasing, then compare workspace equipment in the essential tools guide. If you prefer a bundled option, our beginner’s guide to candle-making kits explains what a useful kit should include.
The complete beginner method
How to make your first candle step by step
There is no universal processing temperature or cure time for every candle wax. Keep your wax supplier’s current instructions beside you and record the actual temperatures and times used.
Choose the wax, vessel and wick test range
Select a container wax and one style of candle-rated vessel. Measure the vessel’s inside diameter, consult the wick supplier’s chart for that wax and diameter, then choose the suggested size plus nearby sizes for comparison.
Use our candle wax guide and wick-type guide if you have not made these decisions yet.
Calculate the batch and write the formula
Determine the intended fill weight for one vessel, multiply it by the number of test candles and include a modest allowance for wax retained in the pitcher. Use the same unit throughout; grams make percentage calculations straightforward.
fragrance weight = wax weight × fragrance percentage ÷ 100Do not measure wax with cups or estimate it from two containerfuls of flakes. Flake size and air space make that method inconsistent. Use the Candle Wax Calculator to plan one candle or a complete batch.
Prepare a safer workspace
Clear children, pets, food, clutter and ignition sources from the area. Protect a stable surface with a heat-resistant mat or tray. Put on eye protection, closed shoes and heat-resistant gloves, tie back long hair and keep an appropriate fire extinguisher accessible.
Set out every measured ingredient and tool before heating begins. Never leave melting wax unattended. Keep water and steam from dripping into the wax, and never use water on burning wax.
Inspect and wick the vessels
Reject any vessel with a chip, crack or manufacturing defect. Clean and dry each candle-rated container. Attach the correct wick tab to the center of the base with an adhesive suitable for candle assembly, then use a centering bar to keep the wick upright.
Label the underside or a removable tag with the wick series and size so the three tests cannot be confused later.
Weigh and melt the wax gradually
Tare the empty pouring pitcher on the scale, add the calculated wax and note the actual weight. Place the pitcher in the water bath and heat gradually while monitoring and stirring as directed by the wax supplier.
Do not melt wax in a pan over a direct flame. Do not rely on appearance alone to judge temperature, and do not walk away while heat is applied.
Add fragrance or dye only if your test plan calls for it
For the clearest first wick comparison, skip both. If you choose to use them, weigh each candle-compatible additive precisely and remain within the lowest applicable supplier or safety limit. Add and mix it at the temperature and for the duration specified by the product documentation.
More fragrance does not automatically produce a stronger candle. It changes the fuel system and can require a different wick. Never substitute food coloring, crayons, craft glitter or undocumented pigments for candle dye.
Pour carefully and keep the formula consistent
Place the prepared vessels where they can remain undisturbed. At the wax supplier’s recommended pour conditions, fill each vessel to the intended weight or level without covering the wick holder. Keep the wick centered and record the pour temperature and any visible observations.
Work steadily rather than rushing. If wax spills, protect yourself first and let it cool before cleanup. Do not rinse wax into a sink or drain.
Let the candles cool and cure
Leave the candles level, spaced apart and protected from drafts. Do not move them while the wax is setting. Once fully cool, remove the centering bars and trim the wick according to the wick or candle guidance.
Cooling solidifies the wax; curing allows the formula to stabilize before testing. These are not the same process, and the appropriate cure period varies by wax and formulation. Follow the wax supplier’s guidance rather than assuming that every soy or paraffin candle needs the same number of days.
Label every candle before testing
Record the batch date, wax, vessel, wick series and size, fragrance percentage, dye amount, processing temperatures and cure period. A batch code prevents memory from becoming your only quality-control system.
Why this guide does not give one temperature
Different waxes and additives are formulated for different processing ranges. A universal “melt at,” “add fragrance at” or “pour at” number may be wrong for the product in your pitcher. The manufacturer’s technical guidance should control your first test.
The candle is not finished when it sets
How to burn-test a homemade candle
A burn test evaluates the complete wax–wick–vessel–additive combination. One attractive first burn cannot prove that a candle will remain stable as the flame travels deeper into the container.
- Place the candle on a stable, heat-resistant surface with generous clearance from drafts, people, pets and combustible material.
- Trim the cooled wick to the length recommended for that wick or candle design.
- Light the candle and remain present for the entire burn.
- Observe at regular intervals. Record flame height and steadiness, visible smoke or soot, wick mushrooming, melt-pool development and vessel condition.
- Follow the intended maximum burn duration and any applicable component guidance. Extinguish safely; do not force an extra-long burn to reach the jar edge.
- Let the candle cool completely, inspect it and repeat the process through its usable life.
- Stop immediately if the vessel cracks, the flame becomes unsafe, soot is excessive, the wick shifts, the container becomes concerningly hot or any other hazardous behavior appears.
Do not use “edge-to-edge on the first burn” as the only pass/fail rule
The melt pool may develop as the candle burns farther down and heat accumulates within the vessel. Selecting a larger wick simply to force a full-width first melt pool can create an oversized flame or excessive heat later. Evaluate the candle across repeated burns.
Let the observations guide you
What does a promising test candle look like?
No single visual detail proves that a candle is safe or correctly wicked. Look for a pattern of controlled behavior across the complete test.
Promising signs
- Flame remains stable and proportionate
- Little visible soot under normal conditions
- Wick stays centered and upright
- Melt pool develops progressively without overflowing
- Vessel remains intact and behaves acceptably
- Candle relights consistently after cooling
- Performance remains controlled near the bottom
Reasons to stop and revise
- Very tall, erratic or self-extinguishing flame
- Persistent smoke, soot or heavy mushrooming
- Wick tab loosens, migrates or leans badly
- Cracked, damaged or concerningly hot vessel
- Melt pool or flame approaches an unsafe condition
- Debris enters the melt pool or flame zone
- Performance worsens substantially in later burns
If one wick candidate performs more consistently, repeat that exact formula in additional samples. Replication matters before gifting, selling or scaling production.
Diagnose before changing
Common first-candle problems
| What you see | Possible contributors | Better next step |
|---|---|---|
| Rough or frosted top | Wax behavior, cooling rate, room conditions or pour process | Check supplier guidance and notes before changing the wick; appearance alone may not indicate a burn failure. |
| Sinkhole or cavity | Wax contraction, trapped air or cooling conditions | Inspect for hidden voids, revise the cooling or pour process and follow the wax supplier’s correction method. |
| Wick drowns | Wick cut too short, wick too small, loose tab or excess liquid fuel | Review wick length and attachment, then test a nearby size with the same unchanged formula. |
| Persistent tunneling | Wick may be too small, off-center or incompatible; test burns may be too short | Compare documented burn conditions and nearby wick sizes rather than simply extending the next burn. |
| Tall flame or soot | Wick may be too large or long; formula or drafts may contribute | Extinguish the candle, remove drafts, verify trim length and re-test a smaller candidate if appropriate. |
| Weak scent | Fragrance incompatibility, load, mixing, cure or wick performance | Do not immediately add more oil. Confirm documentation, process and burn behavior, then change one factor at a time. |
| Wet-looking patches | Wax adhesion changes caused by temperature and contraction | Evaluate burn safety separately; revise preheating, pour or cooling conditions if appearance matters. |
For a more detailed diagnostic process, read How to Avoid Common Candle-Making Mistakes.
Seven shortcuts to avoid
Beginner mistakes that make results harder to trust
- Using a random household jar. Choose an undamaged vessel sold and documented for candle use.
- Measuring by volume. Weigh wax, fragrance and dye so the formula can be repeated.
- Following a universal temperature. Use instructions for the exact wax and additives in your formula.
- Choosing one wick and assuming it works. A chart suggests a test range; the burn test makes the decision.
- Changing several variables together. If the wax, wick, fragrance and vessel all change, the result teaches very little.
- Adding more fragrance to fix weak scent. Excess oil can introduce new performance problems without solving compatibility or wick issues.
- Calling the candle finished after one burn. Test its full usable life and reproduce a successful formula before sharing it.
Keep a candle-making notebook from day one
Record actual weights, lot information, temperatures, room conditions, pour observations, cure time and every burn. Good notes turn an imperfect candle into useful information instead of a mystery.
Add complexity one choice at a time
What to make after your first successful candle
Once an unscented container formula produces repeatable results, choose one new variable and return to testing.
Add one fragrance
Use a candle-approved fragrance within documented limits. Recalculate the batch, label the new formula and repeat wick testing because the added oil can change the burn.
Explore candle color
Add a candle-compatible dye at the supplier’s starting rate. Avoid plant powders, water extracts and craft pigments unless a reliable supplier documents them for the candle system.
Try another wax
Treat it as a new formula. Revisit heating, pouring, curing and wick guidance instead of transferring the old settings automatically.
Change vessel size
A wider, narrower or differently shaped vessel changes heat and melt-pool behavior. Return to the wick chart and create a new test range.
If you want to explore plant-derived fragrance, read How to Make Candles at Home with Essential Oils. For color, begin with the cautions in How to Make Candles with Natural Dyes.
Keep the whole learning path in view
The candle-making hub organizes beginner foundations, wax and wick guides, scent, creative projects and troubleshooting by skill level.
Explore the How to Make Candles hubYour beginner learning path
Use the next guide for each decision
Frequently asked questions
Candle making for beginners FAQ
Is candle making difficult for beginners?
A basic container candle is approachable when you use compatible materials, measure by weight and follow supplier instructions. The difficult part is not pouring the wax—it is testing and refining the complete formula so it burns consistently.
What type of candle should I make first?
Start with a straight-sided container candle using a documented container wax and candle-rated jar or tin. Make several identical test candles with nearby wick sizes and omit fragrance and dye from the first comparison.
Is soy wax always the best beginner wax?
No wax is best for every beginner or project. A well-documented container blend can be a practical choice, whether it contains soy, paraffin, coconut or another wax. Choose based on intended use and available technical guidance.
How much wax do I need for one candle?
Use the vessel’s intended fill weight or a tested prototype, then calculate the batch by weight. Allow for the small amount that remains in the pitcher. The site’s Candle Wax Calculator can work in ounces or grams.
How much fragrance oil should a beginner use?
There is no universal amount. Use oil documented for candle use and remain within the lowest applicable limit provided by the wax supplier, fragrance supplier and relevant safety documentation. Measure it by weight and test the resulting formula.
What temperature should I melt and pour candle wax?
Use the current instructions for the exact wax you purchased. Melting, additive and pouring ranges differ among waxes and formulations, so a single temperature can be misleading.
How long should a homemade candle cure?
Cure time depends on the wax, additives and supplier guidance. Cooling until solid is not the same as curing. Record the cure period used so later tests and batches can be compared.
Should the melt pool reach the edge on the first burn?
Not necessarily. Melt-pool development can change during later burns as the flame sits deeper in the vessel. Do not choose an oversized wick solely to force an edge-to-edge first melt pool; evaluate repeated burns and overall heat behavior.
Can I put dried flowers or crystals in homemade candles?
Loose botanicals and many decorations can become fuel, migrate toward the wick or interfere with the melt pool. Keep combustible and undocumented objects out of the flame zone and do not assume that a heat-resistant object is candle safe.
Can I use essential oils in my first candle?
It is simpler to learn with an unscented candle. If you later use an essential oil, confirm that its supplier documents it for candle use, follow applicable limits and repeat the full wick and burn-testing process.
When can I give away or sell my homemade candles?
Only after the exact formula has completed repeatable, full-life burn tests and you have addressed the labeling, recordkeeping, insurance and legal requirements that apply to your location and activity. A single successful burn is not enough.